How you handle your cannabis plants during the flowering stage has a significant impact on your yields. A clear understanding of what happens in each cannabis flowering stage is essential.
If you’re a beginner at cultivating, don’t stress. We’ll give you a step-by-step guide on flowering cannabis plants.
Let’s get going!
Contents
- When does the flowering stage start?
- What are the first signs of the flowering stage?
- Sexing cannabis plants
- Flowering cannabis schedule
- How to maintain healthy plants in the flowering stage
- Training flowering cannabis plants
- Preparing for harvest
When does the flowering stage start?
During the cannabis flowering stage, the plants notice the change in light and begin to grow buds.
Your cannabis plant enters the flowering stage when it receives longer hours of uninterrupted darkness.
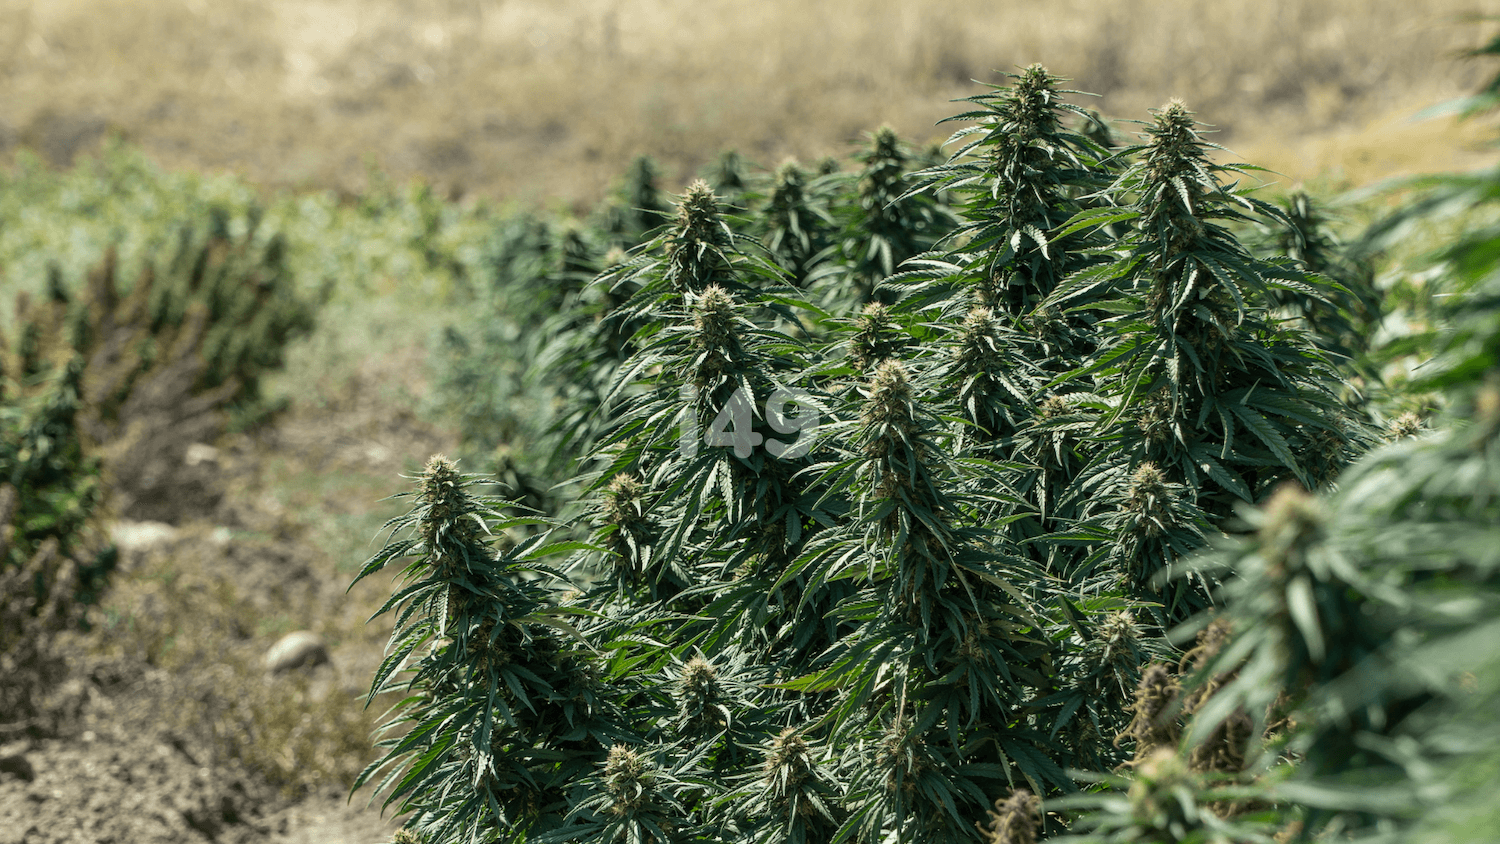
If you’re growing outdoors, the cannabis flowering time begins around the end of summer. For indoor growing, you control the conditions, so it depends on when you switch your schedule to 10 to 12 hours of darkness.

What are the first signs of the flowering stage?
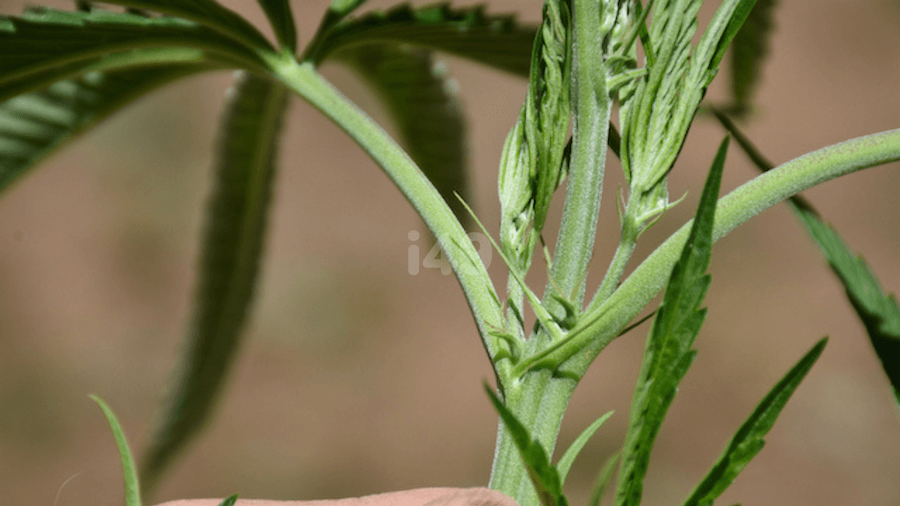
The first signs of the flowering stage begin showing immediately after it ends the vegetative stage. Your cannabis flowering time begins when the female plant stops growing taller and shows tiny white pistils.
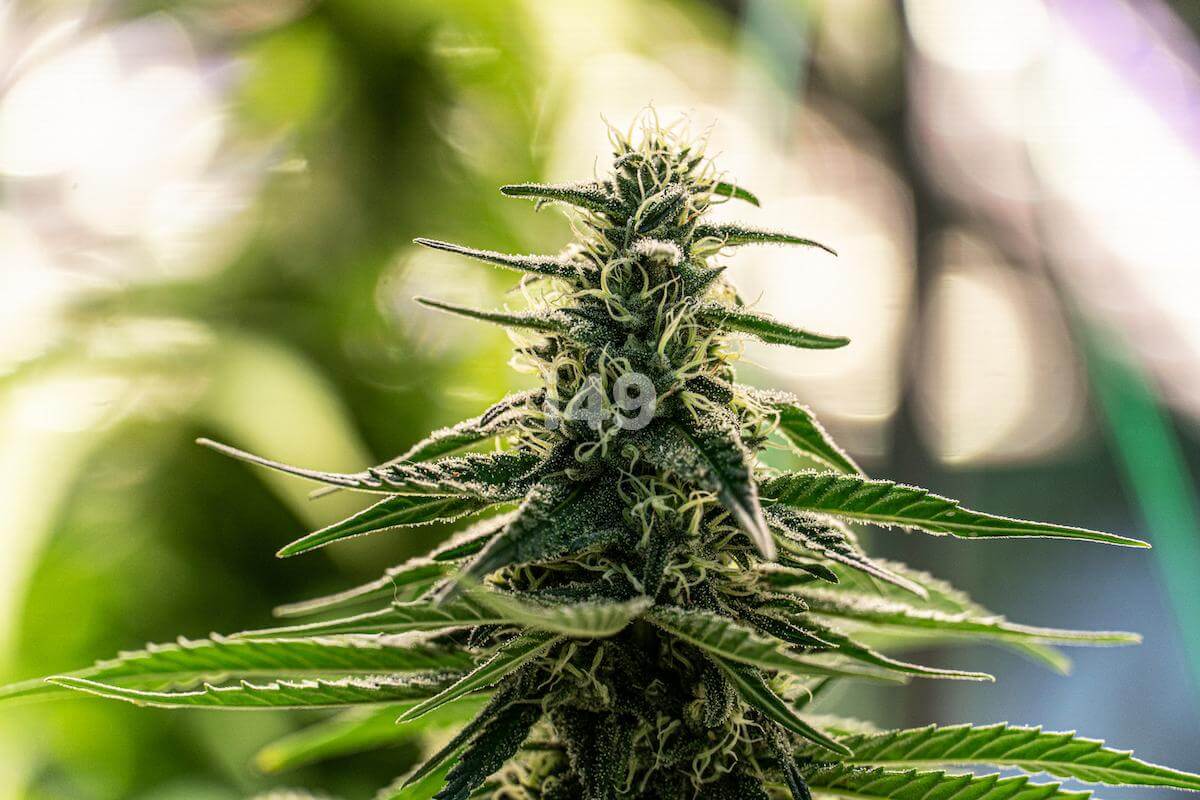
You’ll also notice the cannabis flowers starting to grow buds along with the halt in leaf production.
In contrast, the male plants develop pollen sacks and grow taller to pollinate the female pistils.
If this is a process you’d like to avoid, ensure that you uproot the males as soon as possible.
Sexing cannabis plants
Before you see any cannabis flowers, the presence of stigmas (white hairs) tells that your weed plant is female and sexually mature. It’s now ready for buds flowering fully.
A female plant will start growing pistil, several trichomes and slowly start releasing the familiar cannabis aroma. During the marijuana flowering stage, a male cannabis plant starts to grow pollen sacs, which eventually grows into small flowers.
Male flowers are small with a yellow, red, purple, or pale green color. Female flowers have two hairy white stigmas.
Flowering cannabis schedule
There are five main stages of flowering cannabis. While each one differs, keep in mind that they’re all essential and that the marijuana plant requires careful attention during all cannabis flowering stages.
WEEKS 1-3: Transition to flower
WEEK 1
The first week of the flowering stage is the transition period. During the first to the third week, cannabis plants stretch and grow taller. It develops new stems and leaves, especially at the top of the colas.
Although your weed plant has begun the flowering stage, you shouldn’t switch to giving it the cannabis flowering nutrients immediately. Instead, continue using the growing nutrients for at least one more week once the flowering stage has set.
In this phase, the stems are usually flexible, making it an appropriate time to initiate training techniques like low-stress training (LST). This technique requires gently bending stems down and away from the center to increase the weed plant’s light exposure.
The exercise could increase your yields by more than 40%.
WEEK 2
Your female cannabis may start showing stigmas where the big fan leaves join the main stem. These white hairs later turn into buds. A male plant grows pollen sacs instead of stigmas.
WEEK 3
Your cannabis plant would have grown about 50% the size it was before the flowering stage began. This is also the week where growth slows down, ultimately stopping altogether.
Along with the growing buds, resin glands and trichomes begin to develop. Most growers aren’t concerned yet with the smell at this stage.
As the cannabis plant focuses on growing more flowers, ensure you pay close attention to the nutrient requirements. Check for deficiencies like discoloration, yellowing of leaves, and falling leaves.
It’s normal to see discolored leaves, especially at the bottom part of the weed plant, where it doesn’t receive sufficient light. Leaf-loss and nutrient burn are warning signs that require immediate attention.
WEEKS 3-4: Buds start to form
During this time, the growth comes to a complete stop so you can stop training your marijuana plant. If you don’t, ensure that you give structural support to branches to hold them up.
This is when you’ll notice your weed plant budding.
Stigmas begin sticking from the buds, which get bigger and fatter with each new day. As the buds develop, the cannabis plant produces more trichomes, intensifying the crop’s smell.
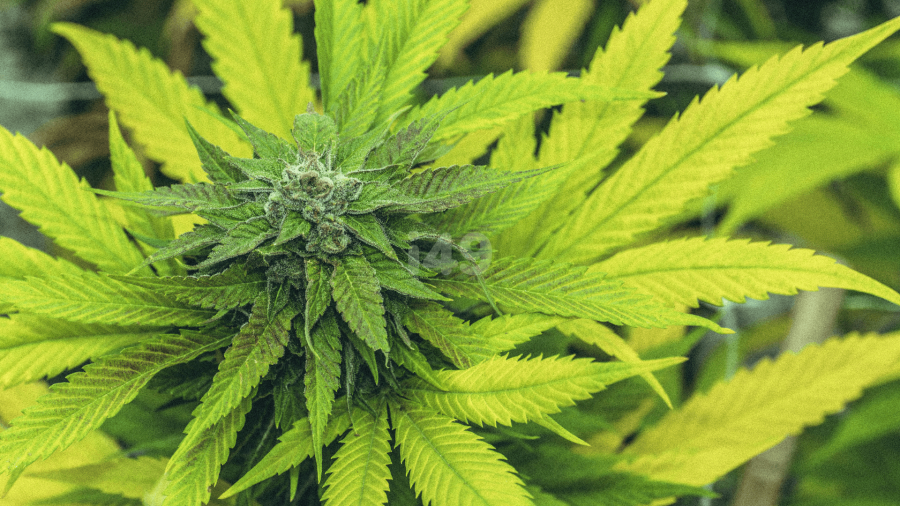
WEEKS 4-6: Buds begin to fatten
In weeks 4 to 6, you’ll notice buds growing thicker, growing in other locations like along the main cola.
At this flowering stage, the plant also has a strong odor. Ensure that you invest in a good ventilation system if you are growing indoors.
While the buds fatten, keep the humidity levels between 40 to 50 %. It’s also great to lower the temperatures a bit to range from 64.4°F to 78.8°F.
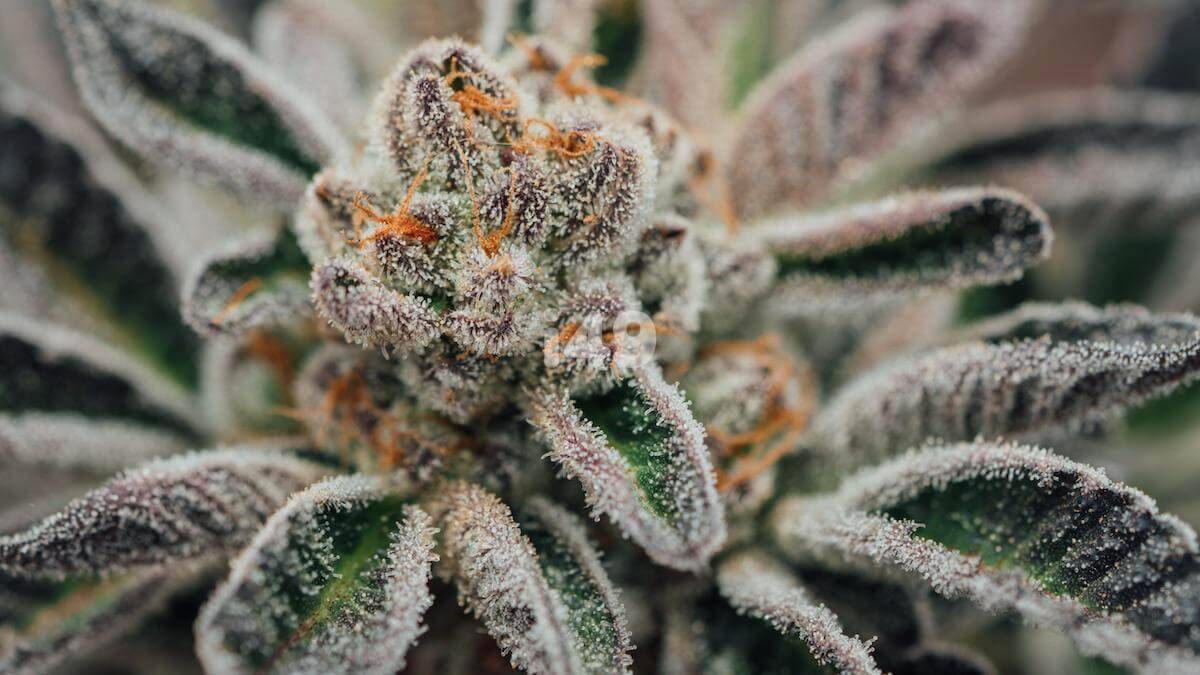
WEEKS 6-8: Buds ripen, and pistils darken
In week 6 of the flowering stage for cannabis, buds add weight—they’re usually smelly and sticky to touch. Some of the white pistils begin turning darker in color. The trichomes become milky white and stigmas darker.
It is an excellent sign of informing the harvesting time is near.
At this point of cannabis flowering, lower the humidity to a 35 to 45 % range and temperature between 64.4°F and 75.2°F. Keep an eye on trichomes for ripening signals to know when to harvest.
WEEK 8+: Flush and harvest
This is the final flowering stage for cannabis. By flushing the cannabis plant, you’re running a lot of water through its growing medium. You’d do this to eliminate the excess salts and mineral nutrients.
Flushing forces the cannabis plant to utilize any of the stored nutrients which may impact the experience when consumed.
We advise that you flush your weed plant 2 weeks before harvesting. To ensure that you use enough water, multiply your crop volume by three to determine the gallons required.
The excess water should come from the bottom of the plant pot. It should be dark and gradually turn into a lighter color.
To know when to harvest, use a jeweler’s loupe or a small microscope to check the trichomes regularly. If they’re clear, it means they aren’t ready. However, if they are opaque or amber in color, it’s time to harvest.
How to maintain healthy plants in the flowering stage
While flowering marijuana there are several factors to consider to ensure healthy cannabis plants. Here are some of the cannabis flowering tips to remember:
- Temperatures between 64.4°F and 78.8°F are conducive for flowering cannabis. Higher or lower temperatures could stunt the weed plant’s growth or kill it.
- Keep humidity between 40 to 50 %. High humidity will bring mold and fungi.
- Flowering weed plant requires clean and safe water. Use chlorine-free or filtered water for your cannabis plants. To know when to water, stick a finger down on the soil—if it goes not more than an inch, know it’s time.
- Good ventilation, not just air, is necessary for flowering cannabis plants. If you’re growing indoors or in a tent, invest in a good fan to help with this. Place it a bit far from the buds and not pointing directly to the buds.
- Ensure the pH level remains between six and seven when growing in the soil. Failure to maintain this balance could result in your cannabis plant losing essential nutrients as it cannot absorb them from the ground.
Use the best nutrients for flowering cannabis
The main cannabis flowering nutrients are phosphorous, potassium, and nitrogen. As the marijuana plants begin to bloom, ensure you increase the concentration of potassium and phosphorus and decrease nitrogen concentration.
The weed plant also needs magnesium, sulfur, and calcium.
You should also ensure that you feed the plant with minimum amounts of micronutrients like zinc, manganese, chlorine, to name a few.
Maintain a balance between nutrients—increasing potassium and phosphorus while quickly decreasing nitrogen could cause deficiency.
Maintain a tidy grow space
Flowering weed requires a tidy grow space, making it easier to spot pests and diseases. Be on the lookout for any dead plant matter and remove it before it starts attracting pests.
By maintaining a clean water supply, you’re also taking extra measures to ensure that your crop gets the best possible benefits from it.
You may also invest in intake filters to clean the air if you are using a grow room. This could eliminate pests that enter via your ventilation system.
If growing indoors, clean your bulbs and reflectors monthly to prevent dust from accumulating around them.
Do not overfeed your plants
Overfeeding your cannabis plant could result in a condition known as nutrient burn.
To see if you’re overfeeding, check the tip of leaves for any discoloration. This indicates that you should reduce the nutrients before it impacts the sugar leaves—the small single-finger leaves emerging from the buds.
If the condition reaches the bottom of the sugar leaves, it’ll be harder to trim during harvest time, resulting in buds with yellow or brown spots.
Training flowering cannabis plants
Low-Stress Training
You should start training during the early stages of your marijuana plant’s flowering to increase your yields. Training maximizes your growing space, allowing for bigger crops.
Train your cannabis plant by gently bending the stems, teaching them to grow outward, a process is known as low-stress training.
This process forms a canopy, hence increasing the plant’s light exposure. This may increase your yields up to 40%. Remember to start training in the first weeks of the flowering weed plants.
High-Stress Training
Simply put, high-stress training is rigorous low-stress training. The objective is to break the apical dominance of the plant.
While performing the process, be careful not to use excess strength, which can break the plant. Removing too much foliage or bending many branches at once may also expose the plant to infections.
Lollipopping
Lollipopping refers to removing leaves from the weed plant’s branches up to a specific point to help it transfer the energy to the top bud sites.
Doing this helps your cannabis plant focus its energy on growing buds at the canopy top, where light is sufficient. For the process, you’ll need sharp, clean shears.
For the lollipopping process, you should:
- Using your shears, remove the first few branches on the bottom of the plant.
- Then, remove branches that are shorter than 50% of the plant’s height as these branches won’t get enough light to develop during the growing phase.
- Remove branches in the middle of the plant, significantly below the canopy.
- Lollipop each branch leaving no more than three nodes from the tip of each branch. Keep in mind that this depends on the size, strain, and health of your weed plant. You should also note when you’re pruning. If the plant is smaller, or you’re pruning later, you should leave around four or five nodes.
After lollipopping, give your plants two to three days to recover, then flip your lights. Remember over lollipopping will stunt the plant’s growth.
Preparing for harvest
During the last weeks of flowering weed plants, it’s normal for the lower leaves in the shaded regions to start falling off.
Pistils will also show white, cream, and brown colors and start curling in. As the trichomes begin to cover the pistils, they’ll change color. Keep a close eye on them to know when to harvest cannabis.
High-yields Flowering
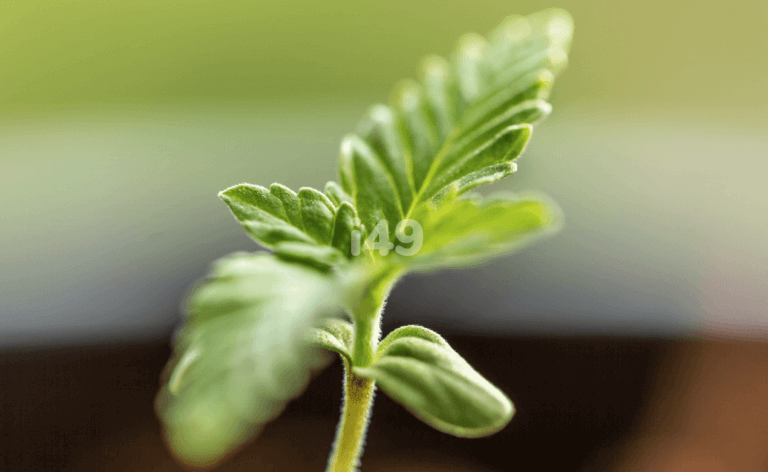
While the cannabis flowering stage is not an easy one, it’s quite rewarding. Next time you have your marijuana seedlings, scroll through this guide to understand the flowering process before it’s due.
Make sure to follow every step to increase your marijuana yields and flavor.
-
Previous cannabis growth stage: Vegetative Stage
-
Next cannabis growth stage: Harvest Stage

Blog Categories
Top 10 Cannabis Seeds