Grow At Home Presents: A Basic Grow Schedule for Soil 1.0
With Canada having legalized marijuana nationwide and a growing number of states across America doing the same, analysts expect the North American cannabis market to surpass $47 billion over the next few years, which means more people are going to be growing marijuana crops.
Some are cultivating cannabis for their own purposes whereas others have more entrepreneurial plans in mind. Either way, newcomers to the field are looking for advice and a better understanding of what to expect throughout the lives of their marijuana plants. This grow schedule for soil growers will help shed some light on the subject.
From the Beginning
Marijuana, like all plants, starts its life as a seed. Inside the seed’s shell lies an intricate network of DNA that contains all the instructions the plant needs to grow and mature. If it’s stored and preserved properly, a cannabis seed will lie dormant until it’s prompted to start growing. When you get your seeds from a trusted cannabis seed bank, you don’t have to worry about anything until you’re ready to begin the growing process.
Seeds begin to develop during germination. Germination simply means applying moisture to dry seeds to make them sprout. Water permeates the shell of the seed, and the material inside soaks it up like a sponge. Then, the new plant breaks through the shell with a taproot that reaches out in search of moisture.
Getting the Ball Rolling
Growers use a range of methods to germinate their marijuana seeds. One of the simplest is to place the seeds in a cup of water. The water should be around 65° F. Some seeds begin to crack open and sprout their taproots within a couple of days, but it may take as long as a week to see any activity.
Change out the water every couple of days to minimize bacteria growth. Once the seed cracks open and produces a taproot, it’s ready to be planted in soil. While the seeds are germinating in water, don’t let the taproot grow any longer than five millimeters.
Another easy way to germinate the seeds is to place them between two paper towels. Store them lying flat in an open plastic sandwich baggie and be sure to keep them away from direct sunlight. Keep them moist by spritzing them with a spray bottle when necessary. Again, you should plant the seeds in soil before their taproots exceed five millimeters.
Both the paper towel and cup of water methods are safe for the taproots’ fragile developmental stages, giving seeds a chance to produce a plant. It is possible to plant your seeds right away and let them germinate in soil, it’s not as successful a method given the low temperatures of soil at night.
Breaking Ground
When it’s time to plant your marijuana seeds in the soil, you’ll need one container for each seed. Three-gallon containers are popular among growers because they give the plants and their roots enough room to spread out without taking up too much floor space. Make sure the containers have holes in the bottom to allow for water drainage.
Make a hole about half an inch deep in the soil and place the seed inside. Then cover the seed with dirt and pat it down gently. Over the next two to three weeks, your seed will grow into a tiny plant with small leaves. This is the seedling stage.
Even before the seedlings begin to peek out from the soil, you’ll need to give them ample light and water to help them start growing. Most experienced growers recommend fluorescent lights at this point. The soil temperature should remain around 70 – 72° F.
You may need to water the seedlings a couple of times each day depending on the size of the pot they’re in and how much water they use among other factors. Add water just until it begins to run out of the drainage holes. The soil should remain moist.
Moving Along to the Vegetative Growing Schedule
Numerous factors may affect the amount of time your plants take to transition from one stage to the next and how long they remain in each phase. Such factors include light, temperature, humidity, cultivation technique, and the strain’s specific growing requirements.
Vegetative Phase: Week One
Once the seedlings begin to grow larger leaves (about three weeks after they’re planted) they’ve entered the vegetative phase. This is where another crucial leg of the growth process begins. In one week, your plants need 18 hours of light from the blue end of the spectrum. Blue light mimics the sunlight they’d be getting from the sun in spring and summer.
Metal halide lamps work well since they’re designed to generate blue light. Some LEDs offer full-spectrum lighting, and many grow lights offer a great deal of versatility in this regard. Either way, place the lights about 40 inches away from the plants and only turn on half your lights if you’re using more than one. These are the specifications for a 400-watt bulb. You may need to adjust the space and intensity if you’re using different wattages or types of lights.
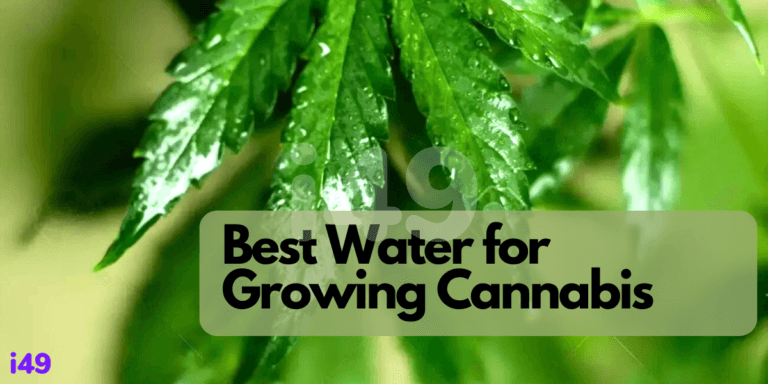
Keep temperatures between 70 – 75° F during daylight hours and around 65° F at night. Test the pH level of the water as well to ensure the water’s pH levels are between 6.0 – 7.0. Otherwise, your plants won’t be able to take in water and nutrients as well as they should.
Vegetative Phase: Week Two
By the second week of the vegetative phase, your plants will be stronger and more accustomed to light and heat. You can turn on all your lights and move them as close as 20 inches from the plants. Be sure they’re not getting overheated, though. If the lights burn your hand when you place it just over the tops of the plants, move the lights further from the plants.
Temperatures can remain at about 77° F during the day to mimic the outdoor growing season’s warming. The plants still need 18 hours of light per 24-hour period. They may require as much as two cups of water every two days. Humidity can remain at 70% with pH levels at 6.0 – 7.0.
You’ll also need to place a fan in your grow area at the beginning of the vegetative phase. Have the fan blowing over the tops of the plants with the breeze barely hitting them. Your plants should sway slightly in the path of the fan but not bend a great deal.
Different nutrients are required to support the plant during various stages of growth. During the vegetative stage, use a fertilizer high in nitrogen to promote growth in the stalks and stems.
Transition into the Flowering Phase
After a few days of germination, three weeks in the seedling stage, and two weeks in the vegetative phase, the flowering phase can begin. Your plants’ leaves should be touching each other with little or no light reaching the surface beneath them.
Flowering Phase: Week One
In nature, most cannabis plants remain in the vegetative stage well into the summer. Since you’re growing indoors, you can switch the lights to a 12/12 light/dark schedule to ‘tell’ them it’s time to begin flowering. Marijuana is a photoperiodic plant, meaning it moves from one growth phase to the next based on the amount and type of light it receives.
Marijuana enters the flowering phase when it begins receiving 12 hours of red spectrum of light instead of 18 hours of blue spectrum light. You’ll need to either exchange the metal halide lamps for high-pressure sodium grow lights or use full-spectrum LEDs.
During the flowering phase, humidity can be 60% and the water’s pH can be 6.5. Keep temperatures between 75 – 77°F during the day and 65°F at night. Your plants may need about a quarter of a gallon of water every couple of days at this point. Check for moisture below the top inch of soil and observe the condition of your plants regularly to prevent crop loss.
Flowering Phase: Week Two
Upon entering week two of the flowering phase, you can boost the lights to full power, but leave them at about 20 inches from the plants. Ramp up the daytime temperatures to about 80°F and keep the plants on a 12-hour lighting schedule. During their 12 hours of darkness, temperatures should be around 65°F.
Continue giving the plants about half a gallon of water every two days or so. If you’ve been feeding your plants a high-nitrogen fertilizer, stop doing so during this week. Flush them by giving them clean water with a pH of 6.5.
Flowering Phase: Week Three
Week three of the flowering phase doesn’t bring on many changes as far as lighting, temperatures, humidity levels, and watering schedules go. Your plants should be growing taller, and they’re almost ready to begin flowering.
Resume a fertilizing regimen but use one with a high phosphorus content. Marijuana plants use phosphorus to produce large, potent buds.
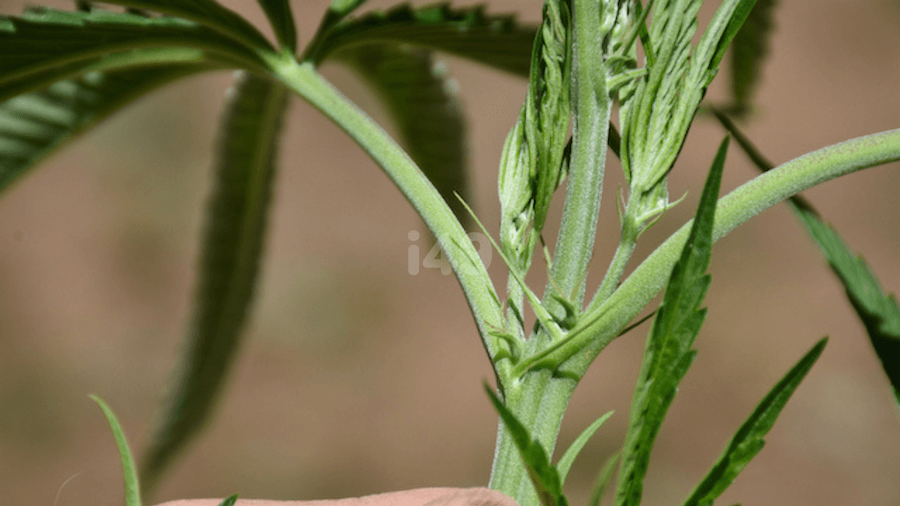
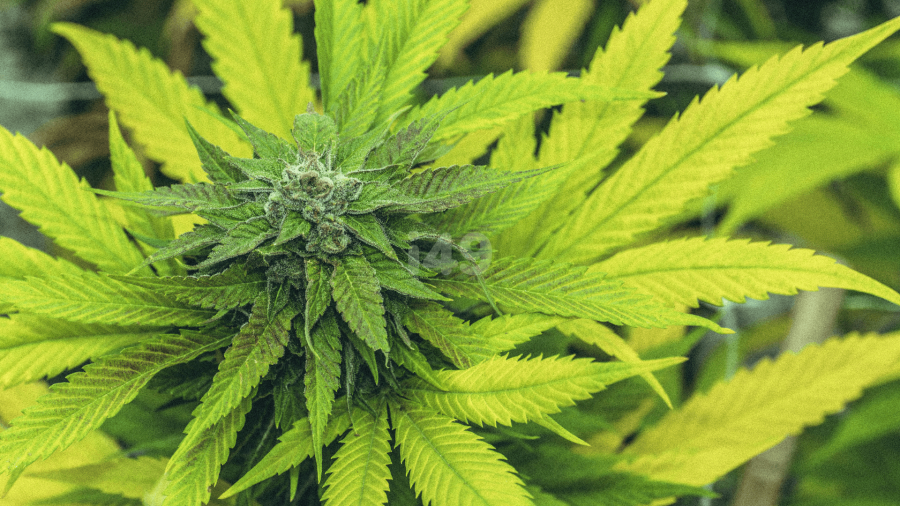
You may see small hairs beginning to develop on your plants, which is a true turning point for your cannabis crop. These are the earliest signs of buds. Be vigilant about monitoring humidity, temperature, and moisture because all these aspects factor into bud growth.
Flowering Phase: Week Four
During week four of the flowering phase, you can lower humidity levels to 50%. The plants are likely to need a little more water than they have had. Feel the soil at the top of the container as well as that around the drainage holes to be sure it’s moist enough to keep your plants hydrated. By now, you should have tiny balls of fluff forming on the plants.
Flowering Phase: Week Five
Your buds should be growing larger by the day during week five, and you’re growing ever closer to an abundant harvest. Continue monitoring all the essentials to ensure they remain at optimal levels. If your plants start to droop, stake them to keep them from breaking.
Your fan should be pointing more directly on the plants to increase air circulation. Stop fertilizing the plants near the end of the week, and use only distilled water. Keep an eye out for signs of mold growth such as white patches on leaves, stems, and roots.
If you see mold beginning to form, place a dehumidifier in the room immediately. Consider moving the plants a little farther apart and turn up the fan or bring a second one into the mix. Fungicides are available to help treat various types of mold and prevent them from spreading. Unfortunately, not all plants can be saved once a fungal infection takes hold.
Flowering Phase: Week Six
Most growing conditions should remain the same through week six of flowering. Keep making sure the plants get plenty of phosphorus. You may want to find a fertilizer or nutrient solution made specifically for the mid/late-flowering phase for an added boost of growth during flowering.
Those white hairs (pistils) on your cannabis flowers will begin to change from white to yellow to amber. This means the buds are beginning the downhill journey to harvest time. The pistils will eventually transition to a brownish hue, and that’s what you want for most strains of cannabis.
If in doubt, review your strain’s profile to confirm its estimated flowering time.
Flowering Phase: Week Seven
On the outside, week seven may seem mundane aside from flower growth. Keep giving the plants 12 hours of light per day just as you have been and continue watering as needed. The pistils will continue to darken from amber to brown. As is the case with many flowering and fruiting plants, some leaves near the bottoms of the stems may begin to wilt and shed.
Flowering Phase: Week Eight
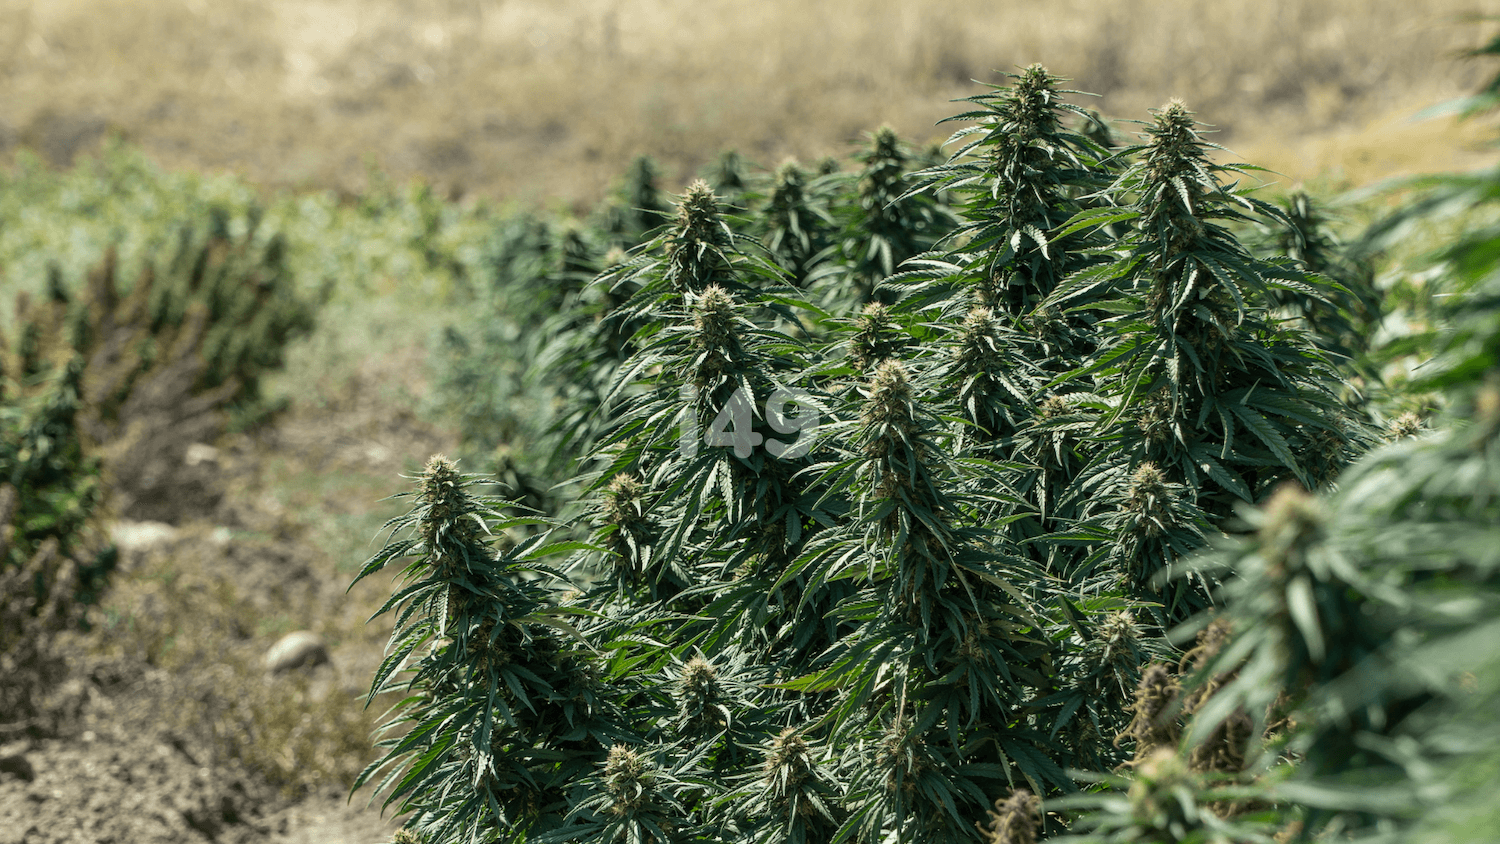
Hopefully, this week will bring the moment of truth to your cannabis cultivation journey. The majority of your flowers’ pistils should be browning by now. If so, it’s time to harvest.
In a Few Words
As mentioned, the strain of cannabis and several environmental variables affect the speed of plant development. Not all strains are the same. Some could flower in just a few weeks whereas others may take as long as four months. Regardless, be patient and diligent. All the time and effort you put into the process will be well worth it in the end. Start with high quality seeds from i49 seed bank!

Blog Categories
Top 10 Cannabis Seeds