Whether you’re a mere hobby grower or a full-time industrial cannabis farmer, getting enormous and healthy yields from your plants should always be the goal. While growing from seed has its benefits in terms of time-to-harvest, monster cropping offers jumbo returns.
Read on as we give you our monster cropping step-by-step guide, from taking your cuttings to training techniques and harvesting.
What is monster cropping?
Monster cropping is a relatively new practice that many consider a more advanced form of propagation. First, you take cuttings from a female plant that’s been flowering for two to four weeks and then place them back in a vegetative light cycle.
Once the plants have grown to your desired size, you begin training to maximize the canopy size. Thanks to the prolific growth from monster crops, you’ll see far more branches and nodes than on plants grown from seeds.
What does monstercropping do to cannabis?
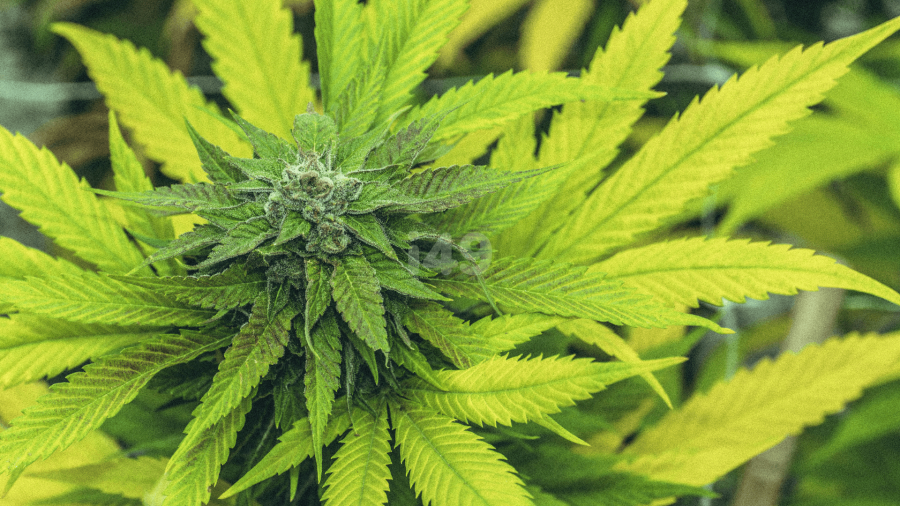
This change modifies the plant’s growth cycle, triggering some unusual changes. Monster cropped clones generally grow to a shorter overall height and have a much greater canopy width. This larger canopy allows for more side branches, leaves, and flowers.
Why monster crop your marijuana plants?
It’s an excellent way to increase your yields per square meter and makes way for other training techniques like ScrOG and lollipopping. You may also have a favorite strain that you’ve been growing; monster cropping is an excellent way of propagating a familiar plant. It’s also free and can be done as many times as you wish.
High yields
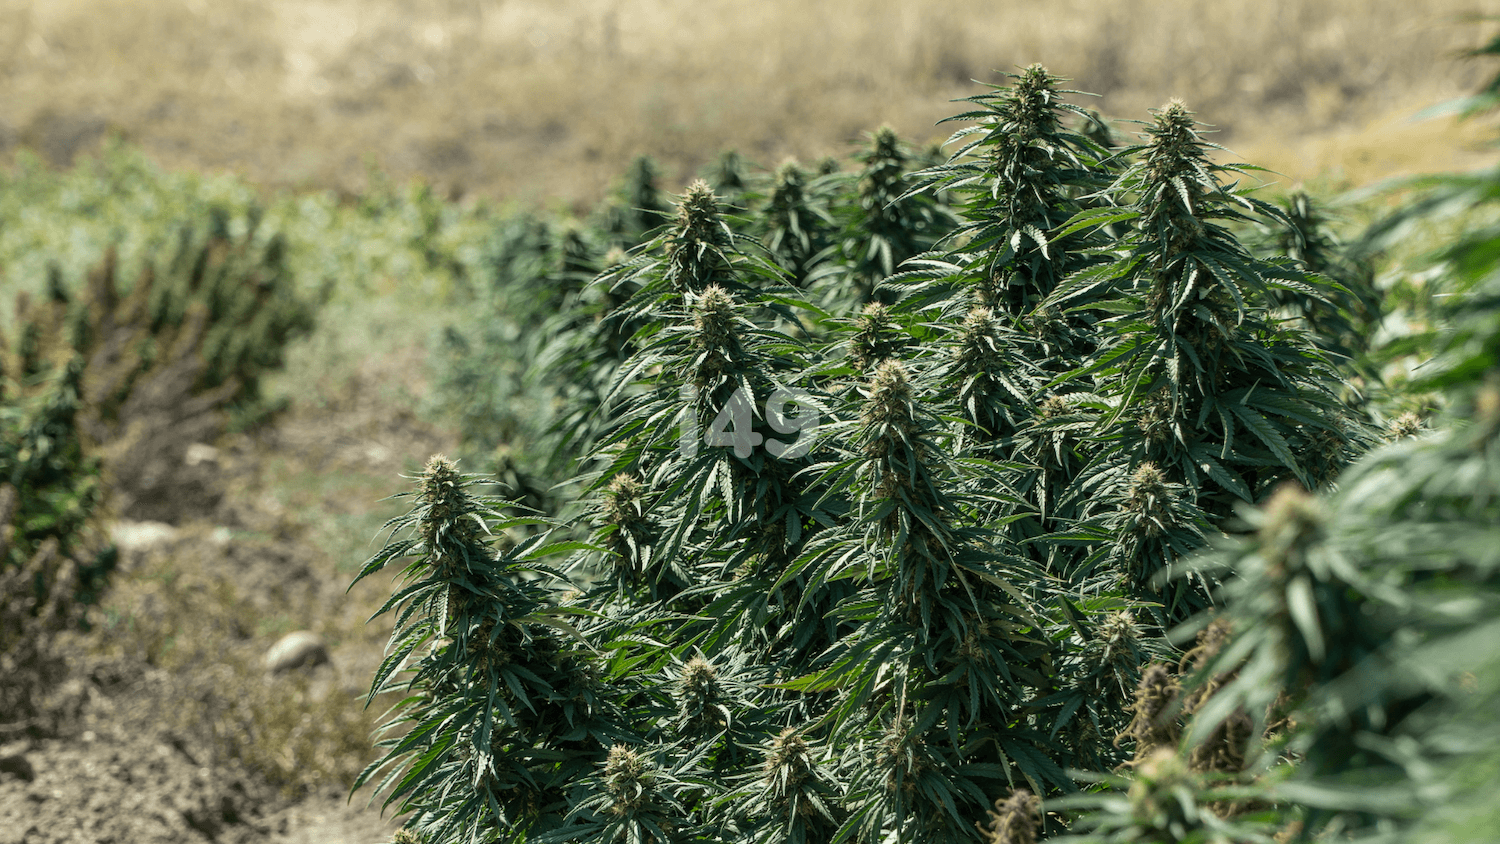
More branches per plant mean more space for leaves and flowers. A properly trained monster crop will offer you considerably higher yields than its mother plant, given time.
Continuous harvests
Another advantage of monster cropping is that you can continually take cuttings from a plant in flower and propagate them indefinitely. If you plan right, you can play this to your advantage and harvest plants continually. Through this method, there’s also no need to keep a mother plant in a vegetative stage.
Works alongside other training techniques
Though monster cropping is an excellent technique by itself, you’ll still be able to apply other methods to further increase your yield, like ScrOG, Sog, Super-Cropping, and various soft training techniques.
Potential drawbacks of monster cropping
As with many other propagation techniques, there are some potential downsides to monster cropping. While it’s not strictly a technique for master growers, there are some caveats you should be aware of before proceeding.
You can’t monster crop autoflowers
If your mother plant is from an autoflowering variety, you’ll be unable to monster crop any cuttings from it. Monster cropping relies on the change in lighting conditions to succeed and thus only works on plants that depend on a photoperiod to bloom.
Autoflowers, as the term implies, flower at specific intervals, regardless of the lighting conditions, making them ineligible candidates for this method of propagation.
Time-consuming
Perhaps the biggest drawback of monster cropping is the extended amount of time it takes. From starting with a female in bloom to taking your cuttings and re-vegging them, it’ll be a while before you get your first buds.
How long does monster cropping take?
Among the caveats of monster cropping cannabis, the time factor is worth mentioning: it’s hugely variable. It’ll be up to you how long you would like to keep the plant in a vegetative stage. To give an example, if you vegetate your plant for a month, you’ll need to add two to three weeks for the roots to take, plus another two to three weeks to flower.
Some strains also grow slower than others, so you’ll need to be mindful of this when planning. A rule of thumb is that you should be that willing to invest at least four months into your first monster crop before you’ll see flowers.
How much will monster cropping boost yields?
Many factors play a part in the potential yield of a cannabis plant, such as lighting, nutrition, and, perhaps most importantly, genetics. The more significant benefit lies in the fact that you can promote a larger growth canopy with more heads per square meter, so the potential for greater yields exists.
Ultimately, the length of time you let the plant spend in veg and the training methods you employ will significantly affect your harvest size.
What tools and equipment will you need?
If you’re looking into monster cropping, you most likely have the majority of these tools on hand:
- Rubbing alcohol – for disinfecting your tools.
- A pair of sharp scissors, a razor blade, or a scalpel – to take clean cuttings and trimmings.
- Suitable container filled with water – for soaking your cuttings
- Coco coir rooting cubes or Rockwool – optional items to make planting a bit easier.
- A rooting gel, like aloe vera – also optional, but it’s great at promoting early root growth.
- Your preferred compost and nutrients to transplant your seedlings into once they’re ready. You may also want to use your DIY Clone box once it’s ready.
- If you’re using ScrOG or other techniques, you’ll need netting or wire.
How to monster crop cannabis indoors
Now that we’ve taken a look at the practical requirements let’s consider how to start your first monster crop.
Choose your best flowering plant
Genetics play an essential part in your cannabis clones’ potential success and dictate the difference between a scruffy little weed bush and an enormous green canopy.
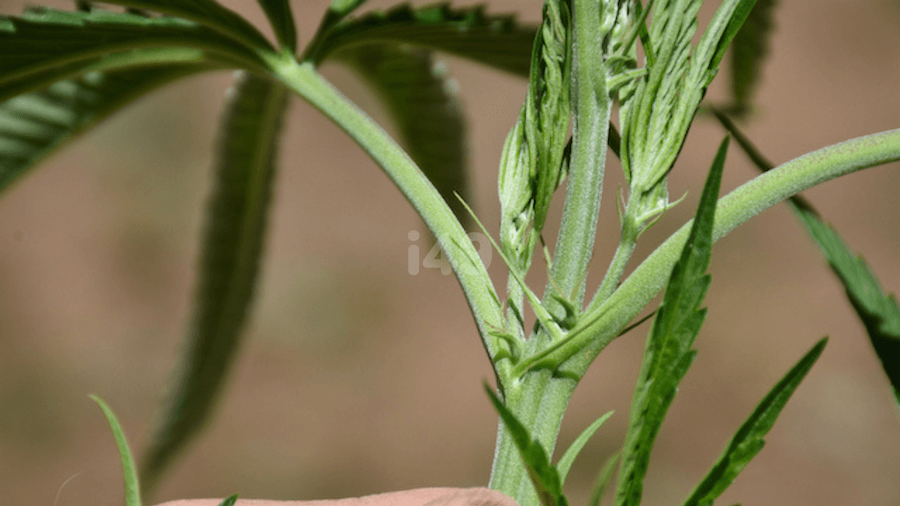
Take cuttings
Use your rubbing alcohol to disinfect your cutting implement thoroughly. Clean cuts will reduce the occurrence of fungus or other pests. Choose a healthy lower branch – these tend to develop roots a bit faster than top branches.
Make a clean diagonal cut across the branch. An angled cut allows your clone to take in more water and nutrients and ensure more robust root growth, thanks to the greater surface area.
Root your cuttings
After taking each cutting, place them in your water container. Putting it in water prevents the plant from taking in air through the cut: this can kill it. You may choose to use aloe vera or another root growth promoter before placing it into Rockwool or coco coir cubes. Alternatively, leave the cuttings in water until the roots start to appear.
Get your clones back to veg
Since you took your clones from a flowering plant, you’ll need to adjust their lighting schedule to get them back into the vegetative stage. Most growers choose an 18/6 schedule, with 18 hours of light to 6 hours of darkness.
You’ll see some strange growth patterns for around three to four weeks while your plants go through hormonal changes. The leaves will be round, and you’ll notice many new branches forming. These are the early signs of a developing monster!
Monster cropping outdoors
If you’re lucky enough to reside in an area with a milder climate, you may be able to take advantage of these conditions to harvest twice in one season. Ultimately, your plants will begin flowering naturally as the nights grow longer and then go back into veg as they shorten.
Plant your seeds
Plant your seeds in winter, as this will make your plants start flowering almost immediately upon emerging. If you’d like your mother plant to vegetate for a bit longer, you can supplement the light with an outdoor grow lamp until you’re happy with its size.
Should you live in a climate with occasional frost, you may need to move your plants indoors and keep them under a vegging light cycle until the worst of it has cleared. If you move your plants back outdoors in a timely fashion, they should flower in no time.
Take cuttings
Following the method prescribed before, take your cuttings and place them into your chosen growth medium or water. Again, take care to disinfect all tools before use.
Harvest your buds
Once your mother plant has matured, you should harvest your buds around the middle of spring.
Re-veg your clones
Spring and the long hours of daylight it brings mark the period during which your clones will revert to the vegetative stage. You can supplement the amount of light your plants get by adding an outdoor grow lamp as well.
Second harvest
Continual care for your new clones, through training and nutrition, will mean that you can harvest again around the end of fall. Do note that this method is best suited for regions that don’t experience any frost during the winter months.
Monster cropping with ScrOG
The screen of green, or ScrOG, is a technique for maximizing your plant’s surface area by weaving the branches through a mesh or netting. The entire process of monster cropping, from taking your cuttings to re-vegging, could be in vain if you neglect to grow your plants laterally. More surface area equals more top branches and leaves get light. More light means more nodes and, thus, a monster crop!
Try monster cropping today!
There’s no denying that monster cropping is a far more involved process than other weed growing methods, but the rewards are tantalizing. If you’re willing and able to spend the time, you’ll be able to maximize your yield per square foot beyond your wildest.
Let’s face it, the sight of 20+ healthy, sticky buds on a single plant should make any cultivator grin from ear to ear.

Blog Categories
Top 10 Cannabis Seeds